Blog
How to Keep Your Sensory Bin Fillers Fresh and Clean
Kids love sensory bins, but keeping the fillers and bins clean and fresh is a never-ending battle. Yes, curious little hands (and sometimes mouths) are constantly mixing and manipulating everything inside the bin. Between the mysterious sticky stuff- that didn’t start out that way- and the crumbs you just found in the rice, it’s hard to imagine keeping sensory bins clean is even within the realm of possibility. The good news? Learning a few new storage habits and filler choices can make it easier to keep your sensory bins sanitized and safe for the long haul!
Choose the Right Fillers from the Start
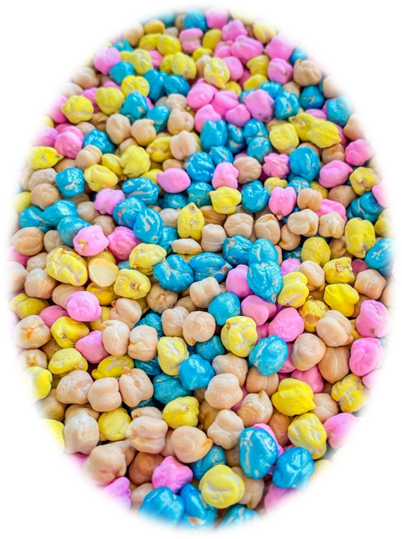
Choosing the right fillers from the start is important for keeping sensory bin materials clean. Toddler safe sensory fillers that are food-safe, like dried pasta, rice, chickpeas, etc. are a wonderful choice. Certain fillers require less upkeep and are lower-maintenance than others. They’re easier to sift, store, and reuse without the constant need for sanitization. Some easy-to-clean-up fillers include:
- Dried pasta
- Dried rice
- Dried chickpeas
- Clean sand
Some fillers have the tendency to trap messes and are bacteria magnets, such as oats, flour, or anything that could potentially harbor crumbs or spills. Choose fillers that don’t cling to dirt and avoid anything that could get moldy quickly or is tricky to sanitize. Keep in mind, wet fillers are perfect for a hot summer day. However, they are prone to spills. Make sure to keep a stash of backup sensory bin materials so you can rotate them out when one set needs cleaning.
Use Sensory Bin Containers with Lids
There are several reasons why using a sensory bin container with lids can make a huge difference in keeping sanitary sensory bins. Whether it’s food crumbs, pet hair, dust, or spills, lids help to shield and protect your sensory bin fillers and materials. A sealed lid can also deter bugs and keep other pests from getting in.
Lids help simplify storage and transportation. A container with a lid can be a much more portable, grab-and-go option. They can also make it easier to store bins between uses without starting fresh every time.
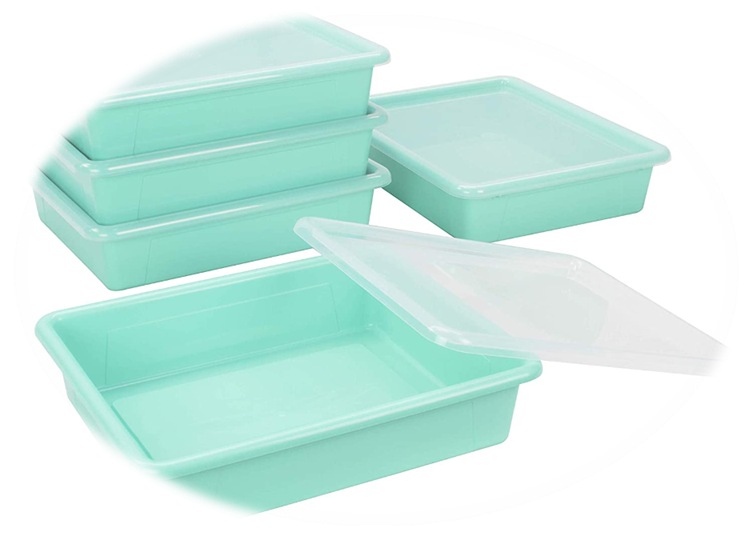
Using sensory bin containers with lids is a simple solution that pays off in the long run.
How to Store Sensory Bin Materials Properly
Proper storage ensures that sensory bin fillers and materials are clean, safe, and hygienic consistently after each use. If you have an extensive collection of sensory bins or are trying to juggle multiple bins, this is even more important. Here are a few tips on how to properly store sensory bin materials:
- Use sealed plastic bags, airtight containers, or lidded storage boxes to prevent moisture, dust collection, and pests.
- Use stackable bins to separate fillers by type.
- Label each container so you can quickly find what you need and keep rotated fillers clean until the next use.
- Keep sensory bins in a cool, dry place away from direct sunlight.
- Only store edible fillers if used briefly and untouched by little fingers.
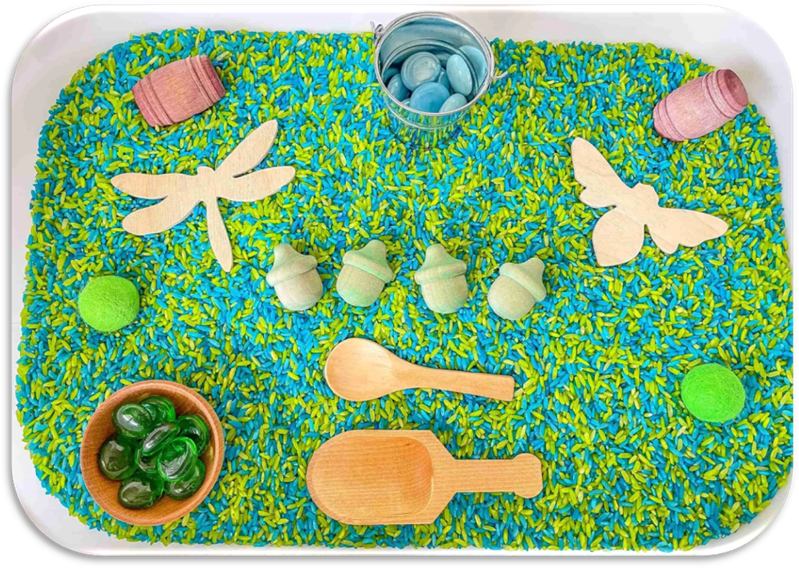
- Sort by theme or fillers.
The goal here is less mess and more reuse of your sensory bin materials. Following these tips for storing your sensory bin materials will help you stay on track with minimal effort on your part.
Regular Cleaning and Sanitizing Tips
Regular cleaning and sanitizing sensory bins doesn’t have to be a huge chore. Maintaining sanitary sensory bins is fairly easy. With just a few regular cleaning habits, you can keep your sensory bin materials clean. Keeping a consistent cleaning routine means safer play all the time.
Here’s our recommendation on how to keep sensory bins clean:
- Check for odd odors or changes to the textures of your fillers. These are red flags to toss and start fresh again.
- Keep bins labeled with dates if using reusable fillers so you know when it’s time to replace your fillers. We recommend replacing fillers every few months or sooner if they get wet or dirty.
- Wash sensory tools and toys with warm, soapy water or run them through the dishwasher. (Make sure you check to see if the items are dishwasher-safe first.)
- For dry fillers, shake out debris and look carefully for broken or dirty items. Spread on a baking sheet and bake on low heat or freeze to kill germs.
- Air dry freshly cleaned bins and fillers on a clean towel or sheet.
- Use a weekly rotation schedule for high use bins. Inspect the containers and replace them if needed.
Quick Cleanup Habits
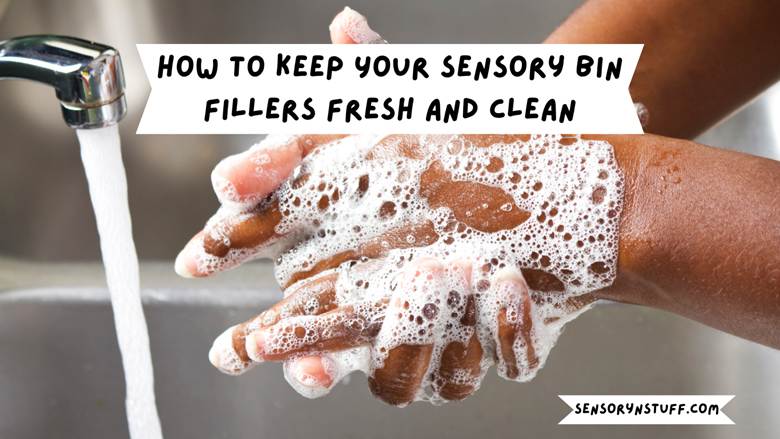
Adding some quick cleanup habits can help keep things fresh and clean while preserving your fillers. The most important rule is to have kids wash or sanitize their hands before and after playing. By making it a rule to only play with clean hands, you keep germs out of your bin and keep a sanitary sensory bin.
Keep a handheld vacuum or a small broom nearby for quick sweeps. This helps to catch stray beans or anything else before they end up under the table or furniture. Laying down a mat or tray can make it super easy to catch spills and then just shake them off outside after kids are done playing. Another effective quick cleanup habit is keeping a small-sized spray bottle with baby-safe disinfectant to zap sensory tools and toys or surfaces after play.
Remember, just a few small habits and the right storage can keep sensory play fun, safe, and sanitary. I hope you learned some tips and tricks on how to keep your sensory bin fillers and materials fresh and clean for months to come!
Want to make cleanup easier? Check out our sensory bin with lids and easy-to-clean fillers here.
CHECK OUT OUR PRE-MADE