Blog
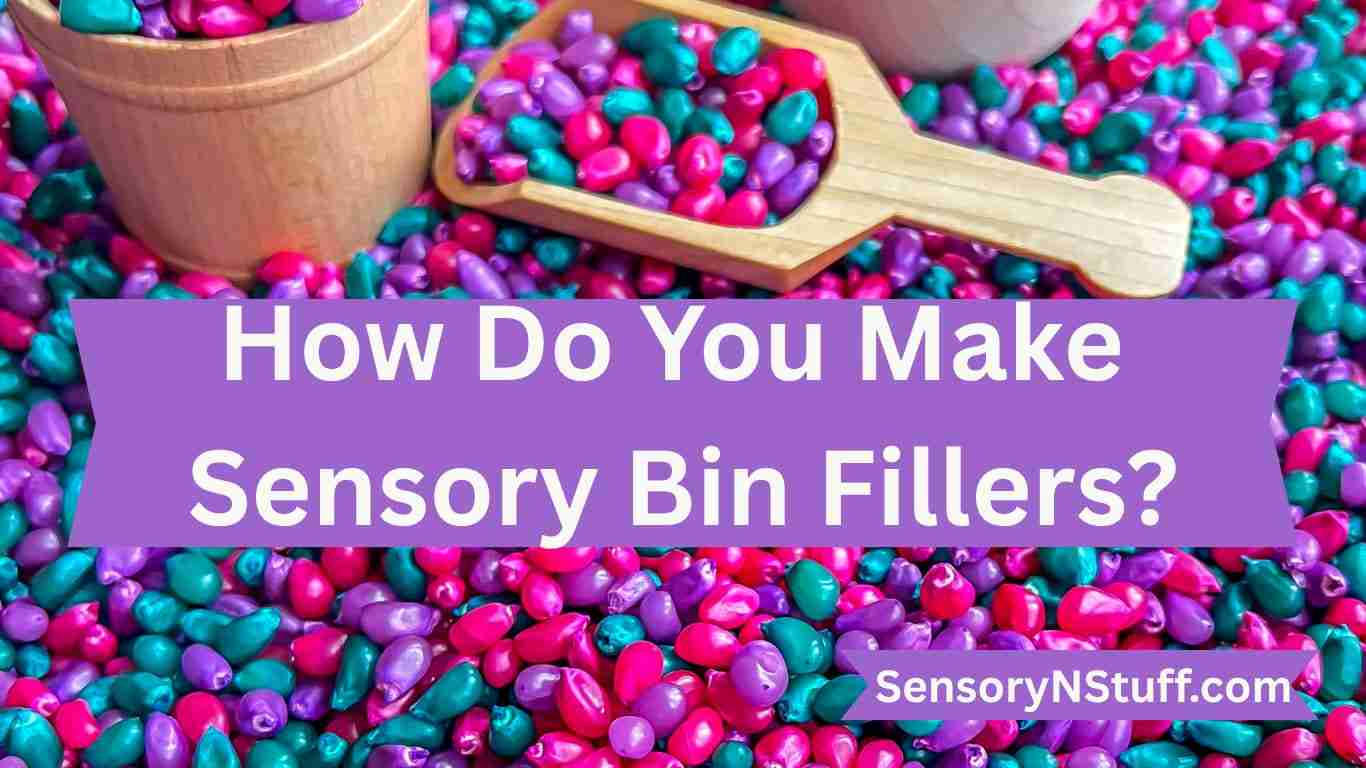
How Do You Make Sensory Bin Fillers?
Maybe you’ve seen colorful sensory bins advertised or watched young children being entertained by these fantastic sensory activities.
As you may already know, they are a huge hit with toddlers and preschoolers! Sensory bin fillers are the meat and potatoes of sensory bins. They are the most basic and essential part of any bin. Every sensory bin needs a filler. In this blog, we’re going to share some easy, fun, and cheap DIY sensory filler ideas for parents and educators.
What Are Sensory Bin Fillers and Why Use Them?
Every sensory bin has three key components: container, filler, and tools. Tools are optional, but make great additions, nonetheless. As I mentioned previously, sensory bin fillers are the most essential component of any sensory bin. It wouldn’t be as satisfying playing with an empty bin, and that’s where fillers come into play.
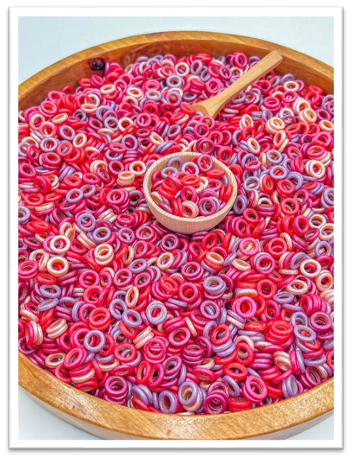
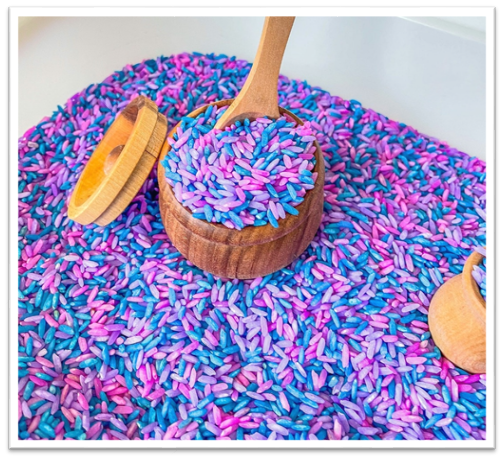
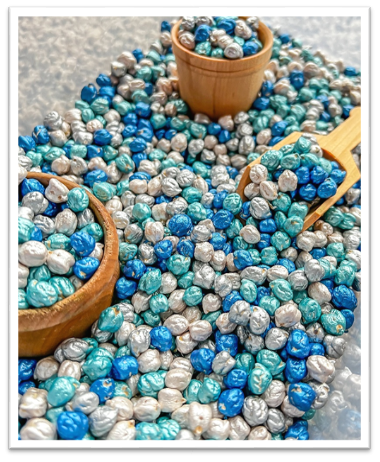
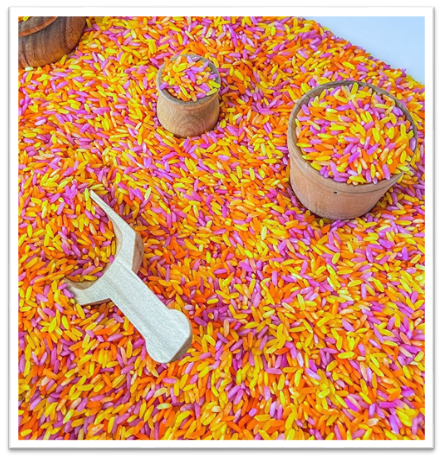
Fillers are the sensory bin materials used as the base of the sensory bin. They help to capture a satisfying sensory play experience, depending on your child’s sensory needs. They can be wet, dry, squishy, bumpy, textured, natural, edible, mess-free, or DIY.
There are several different benefits that sensory bins offer regarding toddler development. They include developing the senses of touch, sight, smell, and sound. Sensory bin fillers and sensory bins can help toddlers with fine motor skill development, social skills, and emotional regulation.
Popular Sensory Bin Filler Ideas You Can Make at Home
There are several different fillers to choose from that make easy and cheap sensory bin fillers. Let’s break them up into categories.
Dried sensory bin fillers include
Wet sensory bin fillers include
- Water (Simple but satisfying! Add food coloring to jazz it up.)
- Water beads (store-bought but popular)
- Bubble water (Add a squirt of dish soap to your water.)
- Cooked pasta (adds a slippery texture)
Edible sensory bin fillers for toddlers
- Jello (great for messy play)
- Cereal (nice, crunchy texture)
- Cooked pasta (great for little hands)
- Oatmeal (cooked or dried)
- Pudding (fun for messy play)
- Whipped cream (messy, satisfying play)
Mess-free sensory bin filler ideas
- Pom-poms (colorful and soft)
- Kinetic sand (soft, squishy texture)
- Fabric or blanket scraps (easy to clean up)
- Cotton Balls (fluffy mess-free fun)
What Makes a Sensory Bin Filler “Food-Grade”?
It’s important to use food-grade sensory bin fillers for toddlers. It’s important to note that there’s a difference between regular and food-grade fillers. Sensory fillers are considered food-grade when they meet certain safety standards. They should comply with the FDA (U.S. Food and Drug Administration) and must be non-toxic and free from any harmful chemicals.
This is extremely important for toddlers who still put things in their mouths. Safety is always a top priority for parents. Choosing high-quality, food-grade sensory fillers ensures a worry-free play experience and peace of mind.
Here at Sensory-N-Stuff we only use food-safe ingredients, dyes, and watercolors when making sensory bin fillers.
How We Make Our Fillers at Sensory-N-Stuff
We keep safety in mind when making our sensory bin fillers at Sensory-N-Stuff. Lots of care and thought go into every batch we make. As previously mentioned, all our sensory bin fillers are food-grade. Our materials are handmade and crafted in small batches in our home kitchen using all non-toxic ingredients. They are durable and taste safe for little ones to explore. Our vibrant fillers offer a delightful tactile experience.
We opt for vinegar instead of rubbing alcohol for coloring rice and popcorn. Dying beans for sensory play can be a delicate process. Only water-based paints are used for coloring beans and other sensory fillers. Ensuring our sensory bin materials remain safe and suitable for hours of fun and hands-on exploration is our goal!
If convenience and quality is what you’re looking for, consider purchasing our pre-made, sensory bin fillers.
Can You Still DIY? Sure- But Here’s What to Know
Making great DIY sensory fillers at home is all about choosing safe and engaging materials that fit the sensory needs of your child. First, you start with a base material from the ideas suggested above, then you enhance the experience with whatever colors or textures you want to use by using food-safe dyes, etc.
Here are a couple of pros and cons to consider:
| Pros | Cons |
| Fun | Messy |
| Customizable | Time-consuming |
| Cheap | Not always safe for toddlers |
We suggest starting small. Try DIY, and then compare to store-bought options.
What to Look for When Buying Sensory Bin Fillers
When comparing store-bought sensory bin fillers here’s a few things to consider.
- Safety- You’ll want your sensory bin fillers to contain only safe ingredients.
- Durability- Sensory bin fillers should be made to last and contain long-lasting ingredients and color.
- Minimal mess- Everyone loves a mess free sensory bin. It makes cleaning up a breeze.
- Texture consideration- Select kid-approved textures based on your child’s sensory needs.
Looking for safe, durable, mess-free, kid-approved textures? Sensory-N-Stuff checks all these boxes!
Whether You DIY or Buy, Sensory Play Starts Here
Play is an essential part of a child’s growth and development. It fosters creativity, problem-solving, and emotional development. We support hands-on exploration and play and encourage children to engage in sensory-rich experiences that spark joy and curiosity. No matter how play fits into your daily life, every moment of discovery builds lifelong skills for your growing children. We encourage you to check out all that Sensory-N-Stuff has to offer to fulfill these needs. From sensory bin fillers and materials that foster sensory play, to more tips and ideas on our blog. We have you covered!